The Data Browser
Seven Bridges is committed to providing CAVATICA users with up-to-date versions of the datasets that are available from the NCI Genomic Data Commons (GDC). The currently available version of this dataset corresponds to GDC Data Release 31.More information about the data in this release can be found in the GDC Data Release Notes.
Learn more about our policies regarding updates to the GDC datasets.
The Data Browser allows you to visually explore TCGA, Cancer Cell Line Encyclopedia (CCLE) data, TARGET GRCh38 data, TCGA GRCh38 data, and your CAVATICA datasets in an interactive way. You can build queries to filter data using various metadata attributes. You can then add these files to your projects for further analysis.
On this page:
Access the Data Browser
To access the Data Browser , click Data on the top navigation bar. Then, select Data Browser.
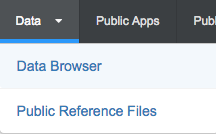
You'll be taken to the Data Browser, as shown below.
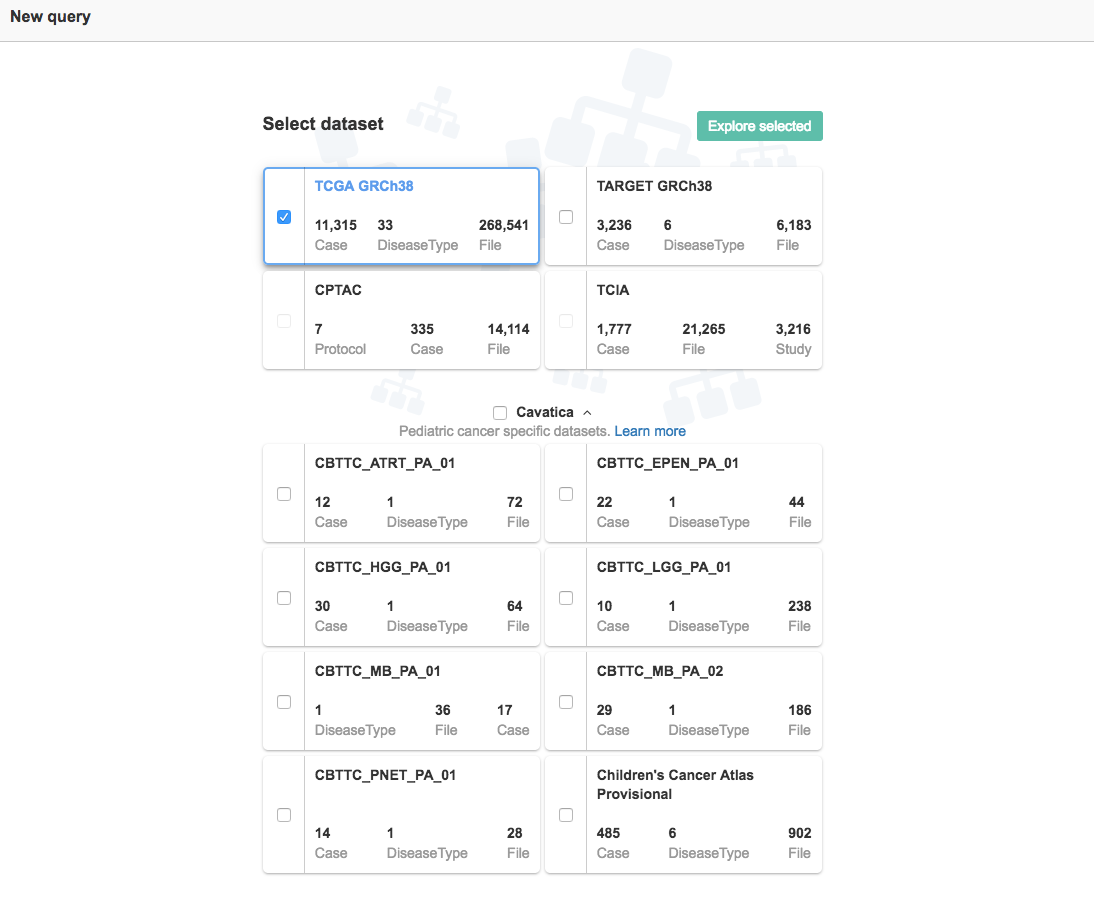
Once you select your dataset, you will see the following screen, which displays the entities from which you can start your query. Learn more about [metadata for datasets on CAVATICA](Introduction to datasets).
If you select TCGA GRCh38, you'll see the screen below. Note that while all users can query TCGA data via the Data Browser, CAVATICA must first authenticate your TCGA access permissions with dbGaP before you can use or download TCGA data. The banner above the Data Browser links to your Account Settings, where you can learn more about registering for an account to access TCGA data.
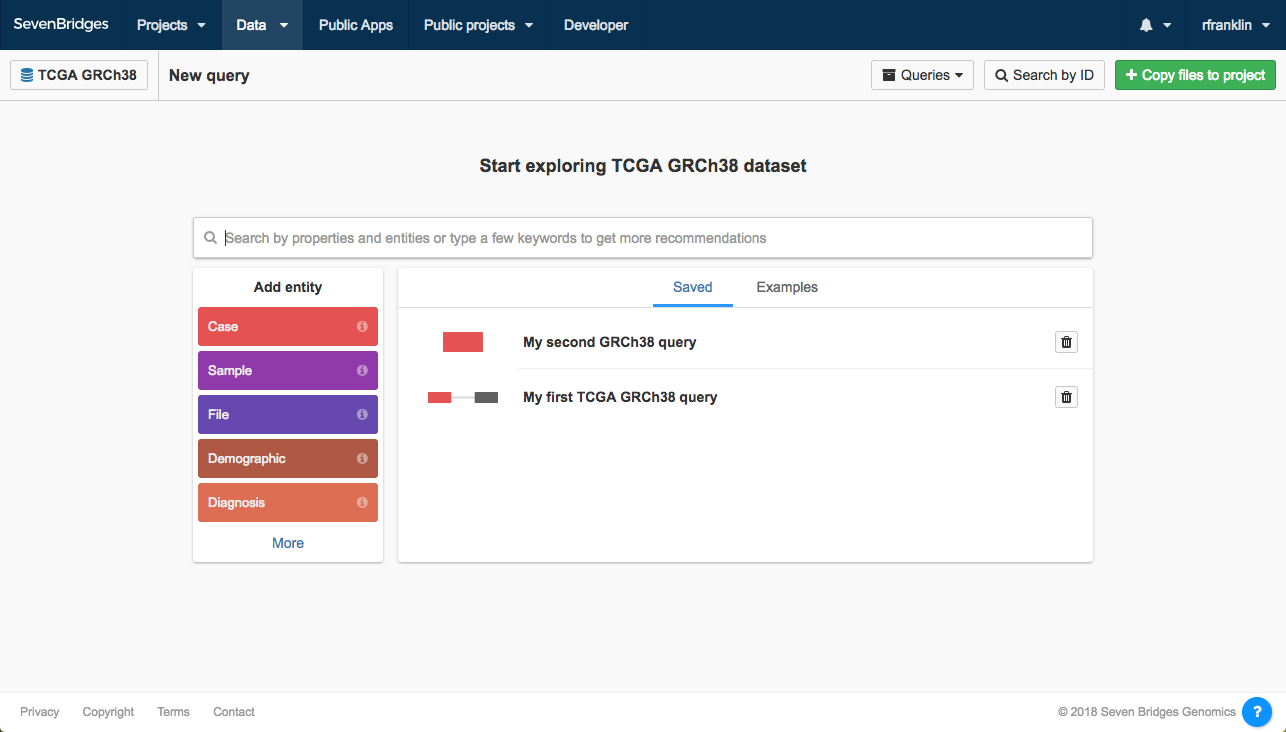
Note that you can check which dataset you're querying by looking for the dataset's name in the upper left corner.
You can always choose to clear the canvas and start a new query in the alternate dataset by clicking on the dataset's name. Learn more about switching between datasets below.
The Data Browser Features
Before diving into building queries, let's take a look at the top navigation bar.

Dataset name
You will see the name of the dataset you are querying on the left side of the top navigation bar. In the image above, you are currently querying the TCGA GRCh38 dataset.
To clear your canvas and switch to the other dataset, simply click on the visible dataset name. This opens a dialog in which you can select the alternate dataset.
Query name
You will see your name of your query on the left side of the top navigation bar. This defaults to New query if your query is unsaved.
Queries
Click on Queries to reveal different actions relating to queries, as shown below.
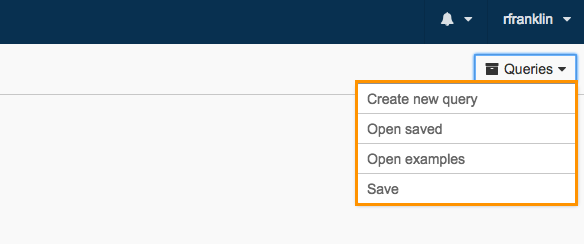
You can choose to create a new query by clicking Create new query. Or, you can open a previously saved query by clicking Open existing. You can also build a query from examples provided by the CAVATICA team by clicking Examples and templates. Lastly, you can Save new queries or overwrite existing queries.
Save Query
You can save any query you build on the Data Browser. These can be queries you've built using Example Queries or from scratch. Note that empty canvases cannot be saved as queries.
Note that this feature is still in BETA, and we will continue to make improvements.
To save a query:
- Click Queries on the top of the Data Browser canvas.
- Select Save from the drop-down menu.
- In the pop-up window which appears, you can name your query, as shown below. Click Add description to add a brief description of your query.
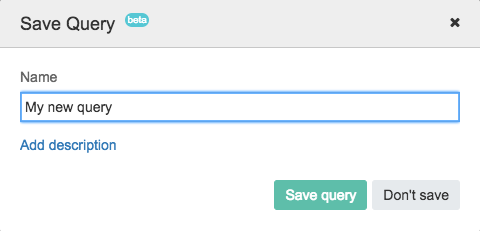
- Then, click Save Query.
If you are saving a previously saved query, you'll see a checkbox giving you the option to save as a new query.
All saved queries can be accessed by selecting Existing queries from the Queries drop-down menu.
The Search Box
Click on Search by ID to reveal the search box. The search box allows you to search by UUID, ID (TCGA Barcodes), or file name.
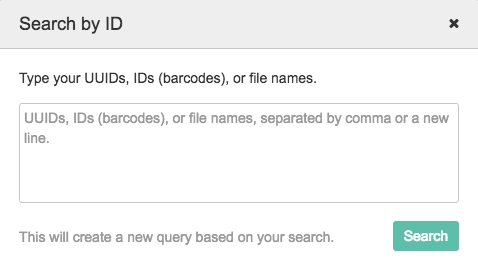
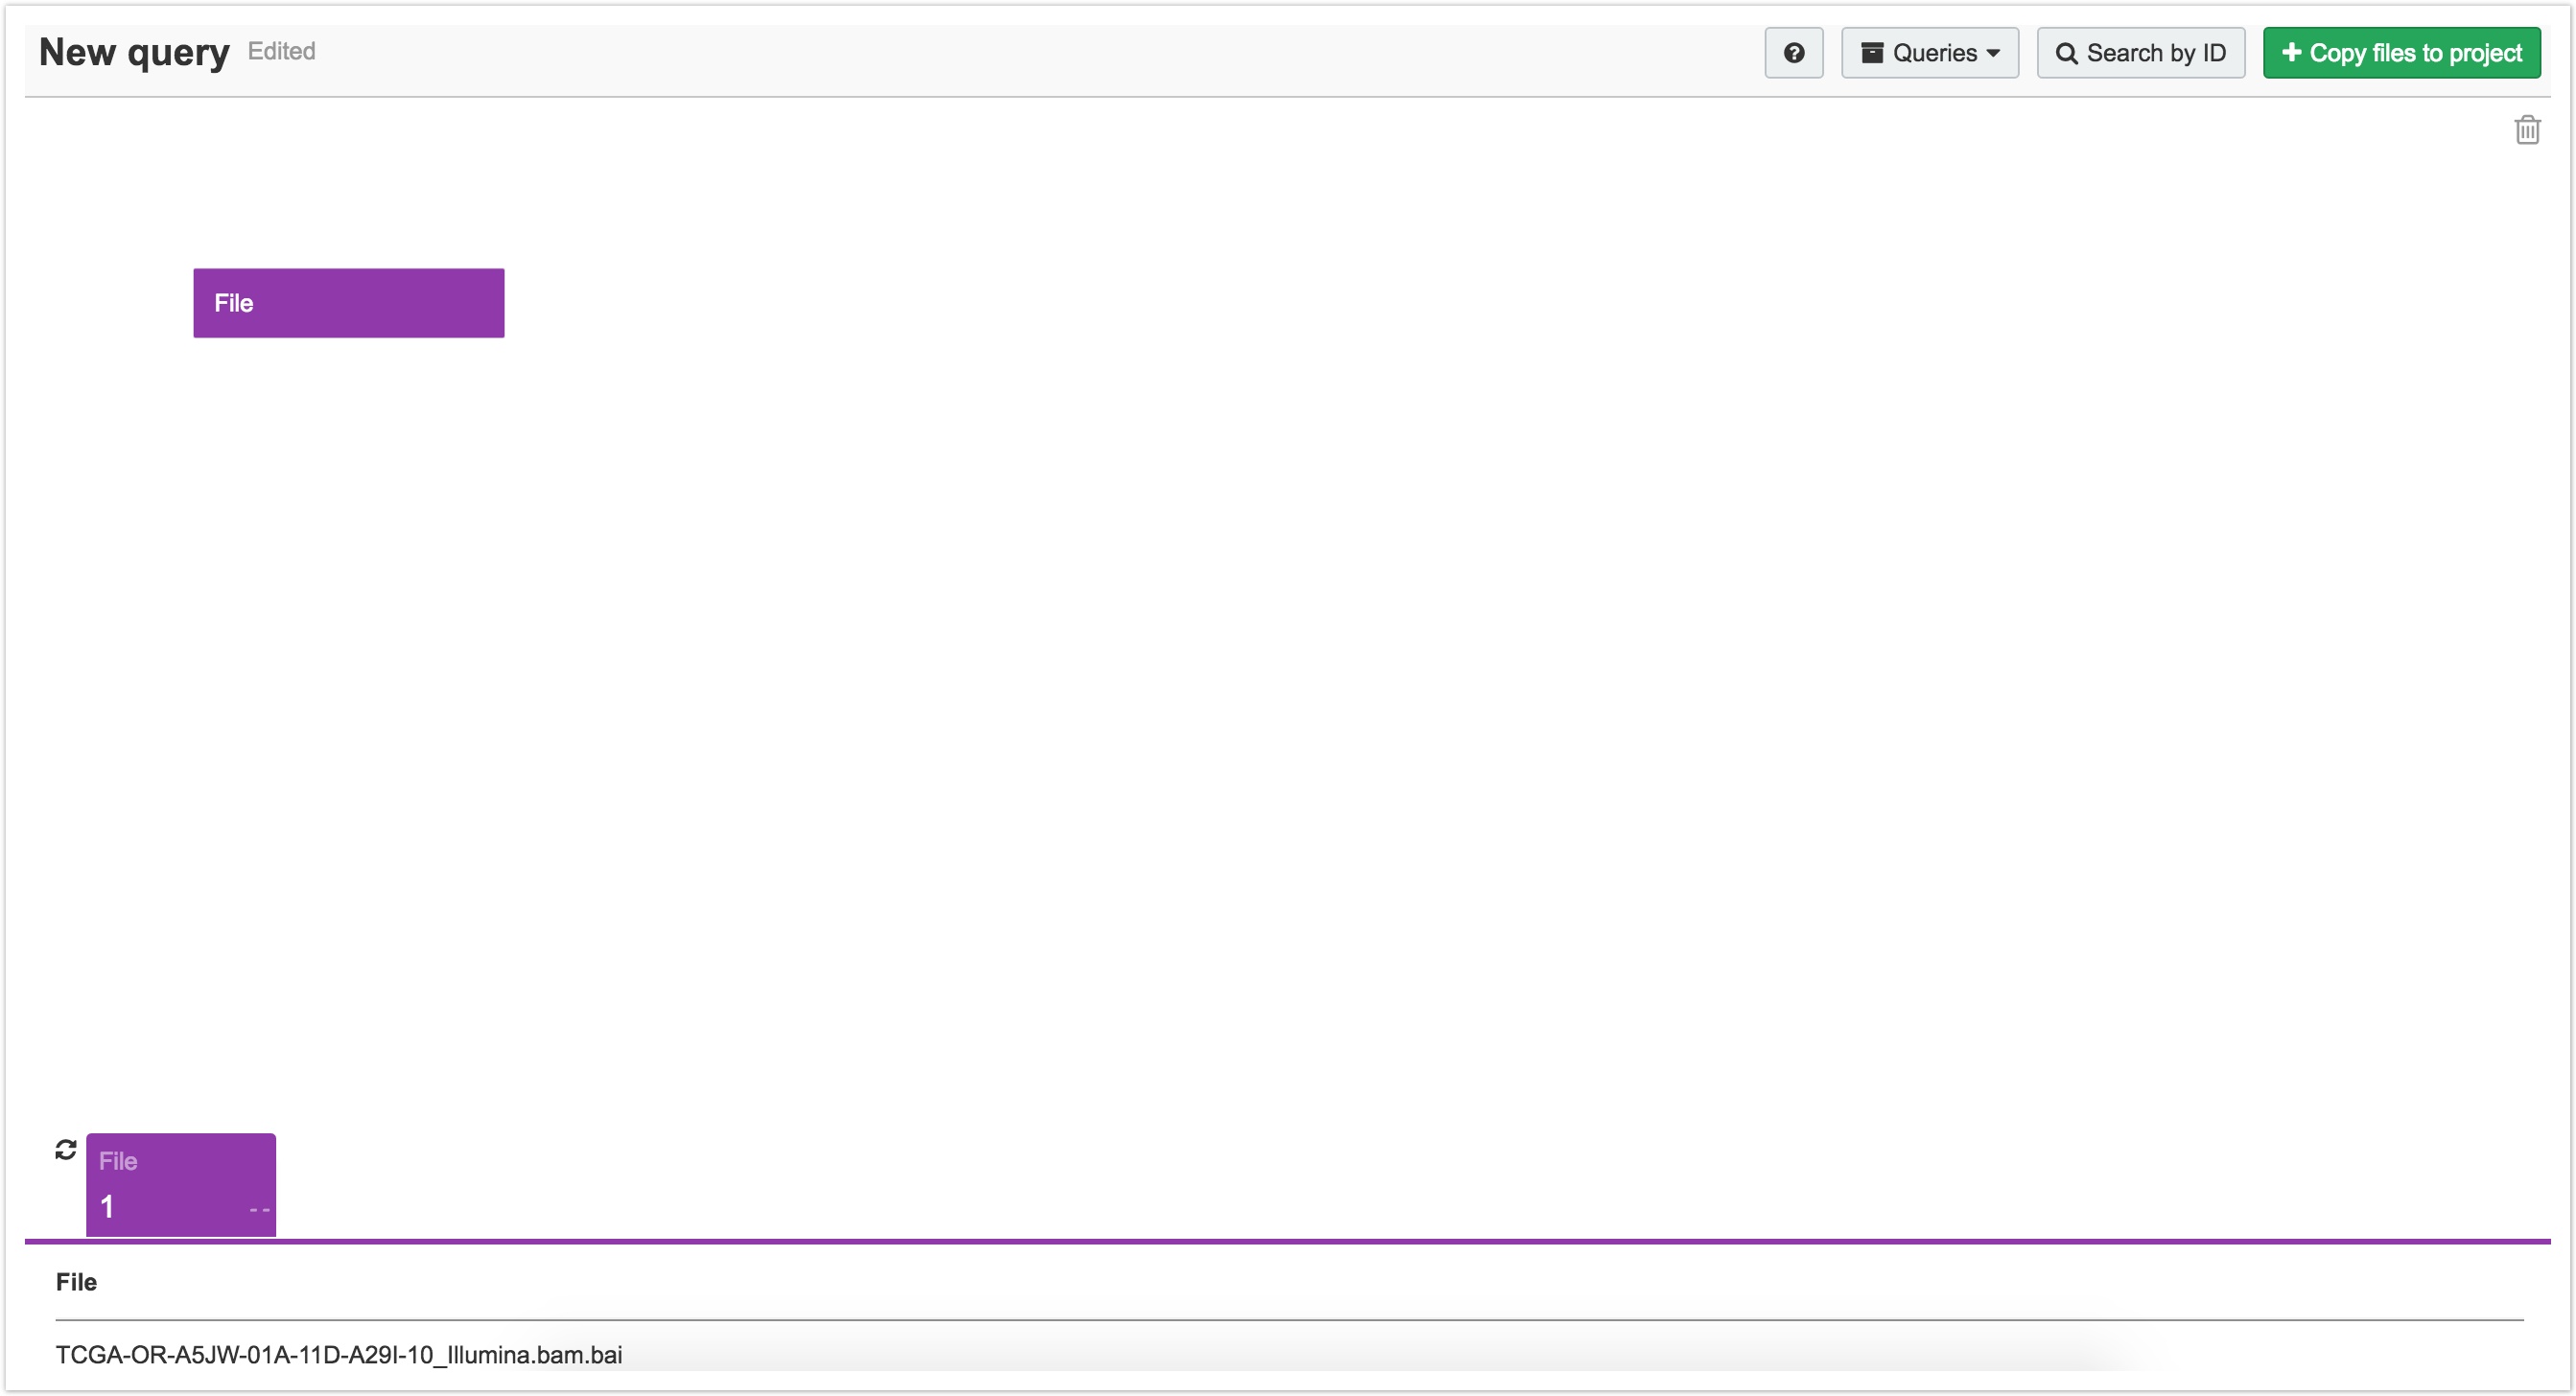
You can enter more than one UUID, ID (TCGA Barcode), or file name (separated by commas) into the search box and click Search. This populates the Data Browser with a query. For instance, you can search for TCGA-OR-A5JW-01A-11D-A29I-10_Illumina.bam.bai.
This populates the Data Browser with a query starting from a File node containing TCGA-OR-A5JW-01A-11D-A29I-10_Illumina.bam.bai. You can use this as the starting point of your query.
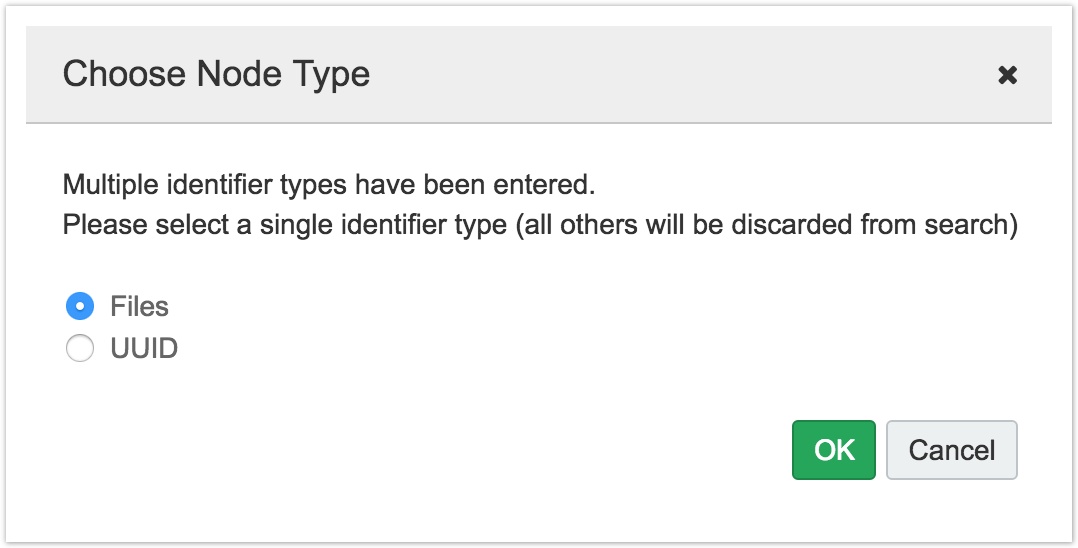
Note: if you mix two types of search terms (such a UUID and file name), you will be asked to choose one, as shown below.
Count
The Count feature allows you to see the scope of the data returned by your query.
When you create a node, a count card displaying the entity name and number of instances for that entity appears at the bottom of the page. For example, the count card for the Case node shows how many cases are returned by your query.
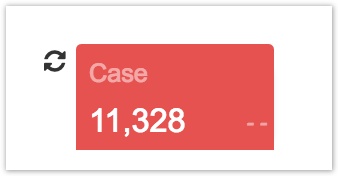
The number of entities returned will change as you add further filters to your query. The count cards at the bottom of the page will gray out to let you know the represented quantities need to be refreshed.
Click the refresh button next to the count cards to refresh the number of items returned by your query.
Clear All
The trash can icon on the canvas acts a the "clear all" button. It allows you to delete all previous queries and opens a new query canvas.
Copy files to project
The +Copy files to project button allows you to copy files from your query to your desired project.
To copy files to a project:
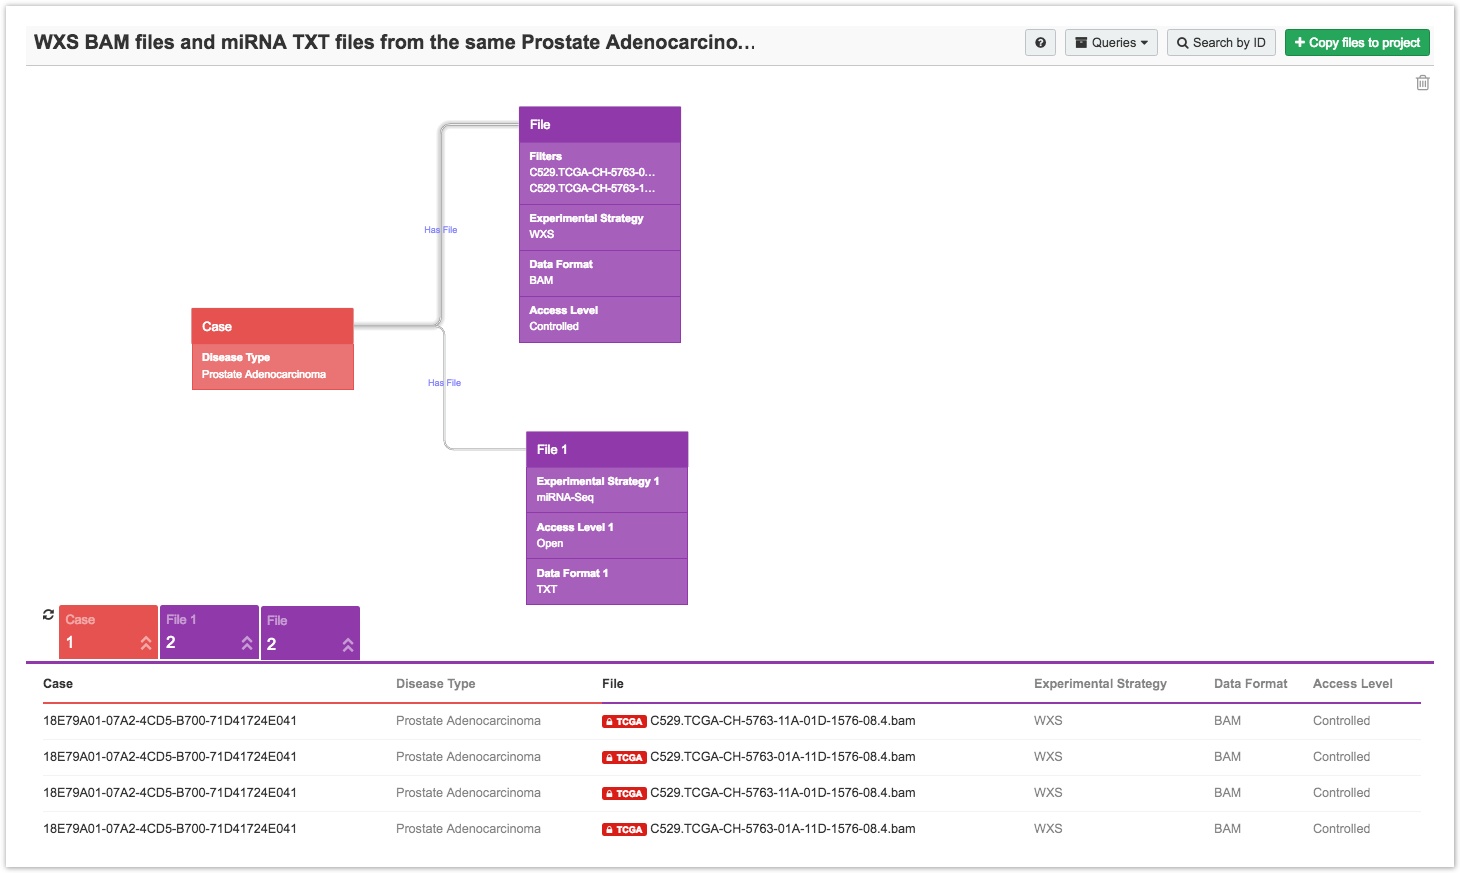
- First, populate the Data Browser with a query, as shown below.
-
Click on the File node, as shown above, to select the associated files. In the example above, clicking on the node labelled File selects files for cases with a Disease Type of Prostate Adenocarcinoma, an Access Level of TCGA Controlled Data, an Experimental Strategy of WXS, and a Data Format of BAM.
-
Once you've selected your desired files, click +Copy files to project.
If you have nothing selected on the canvas, the File node with the lowest number will be automatically selected. For example, if you have three file nodes, named File, File1, and File2, the node named File will be automatically selected.
- At this point, you will either be able access the data right away, or you'll be redirected for further authentication based on the type of data you are trying to access. While you can access CCLE data via the Data Browser right away, you will need to be authenticated before you can access TCGA data.
- A pop-up will appear to confirm the File node you selected (or, the node automatically chosen if you have no selected nodes).
- Select a project to import your files from the drop-down menu.
- Once the files are imported, you will get a message on how many files have been successfully imported.
Copy files from more than one File nodeYou can only copy files from one File node at a time. To copy files from more than one File node, you have to perform steps 2 through 4 once for each node.
For instance, if you wanted to copy files from both the File node and the File1 node in the query used for this example, you have to go through steps 2 through 4 twice. First, select the File node, check the table, and click +Copy files to project. Then, select the File1 node, check the table, and click +Copy files to project.
Updated about 2 months ago
