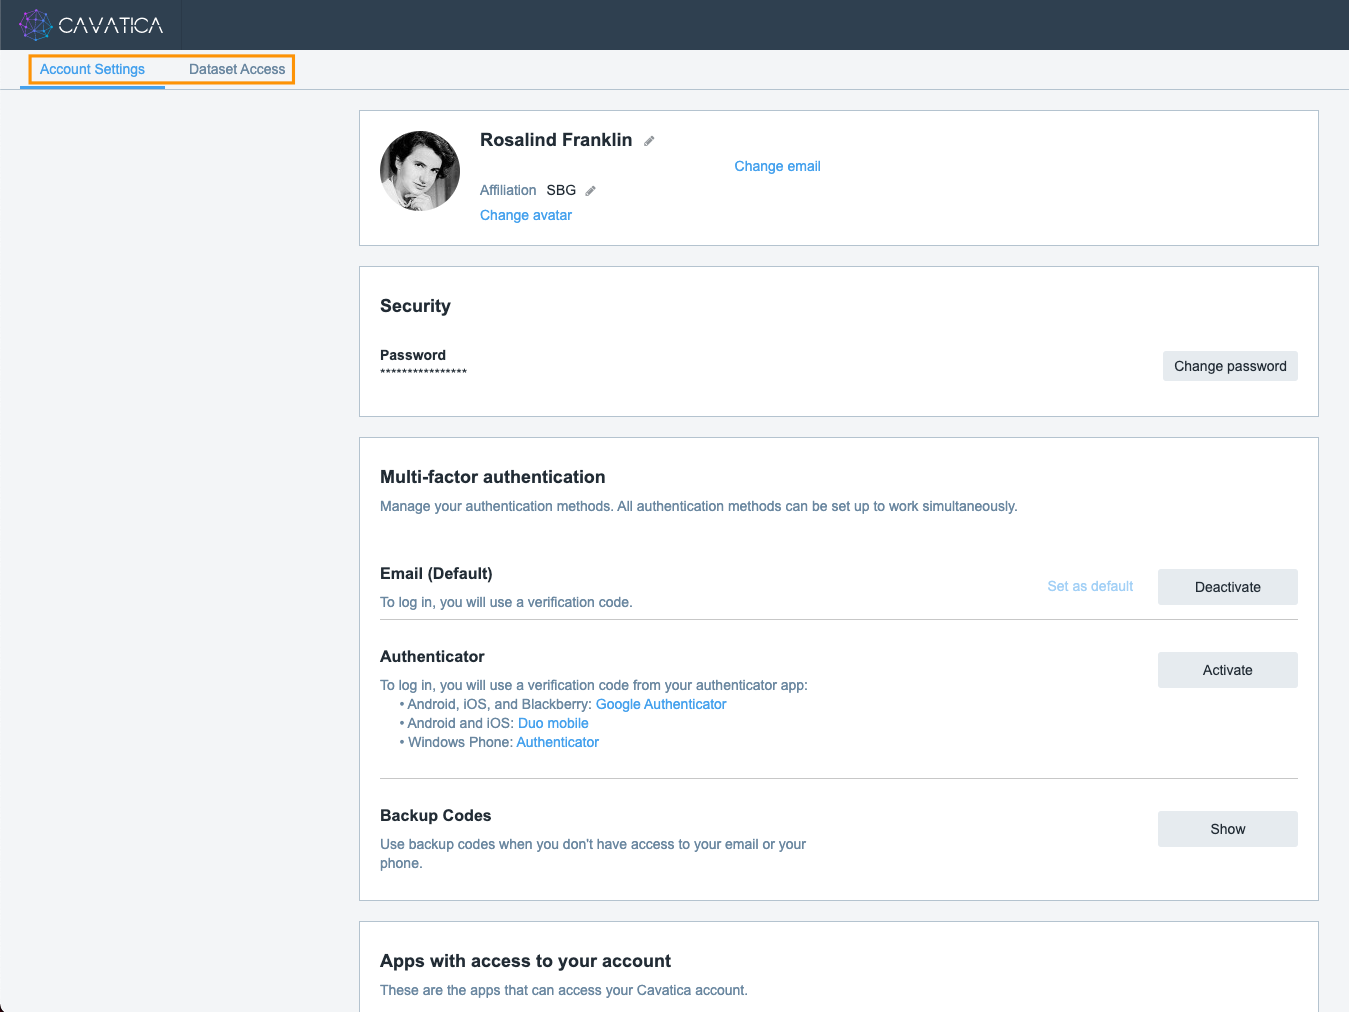
Account Settings
The Account settings page allows you to manage your basic account information.
Access Account Settings
To access to your account settings:
- Click on your username in the top righthand corner.
- Select Account settings. The Account Settings page is displayed.

Use the tabs on the top to navigate between:
- Account Settings to manage your basic information, set up multi-factor authentication as well as manage access to your CAVATICA account.
- Dataset access to manage access to external resources, see:
Manage your basic information
Click on the Account Settings tab on the top to change your personal information as well as your email address and password. Note that you won't be able to change the username you chose at sign-up.
Account inactivity
If you haven't logged in to CAVATICA in 90 days, your account will be temporarily disabled due to inactivity. Prior to temporary account deactivation, you will be notified by email and will be provided with the option to log in and keep your account active.
If your account does get deactivated, you will not be able to use it to log in, but your data remains on CAVATICA and is not affected in any way. To re-enable your account, follow these steps:
- Log in to CAVATICA with your username and password. Account reactivation dialog is displayed.
- Click Activate account. Reactivation email is sent to your account's email address.
- Open the reactivation email in your email inbox and click Activate account. You are taken to the password setting screen on CAVATICA.
- Set a new password. Make sure that the password matches all requirements listed below the password entry field.
- Click Activate account. Your account is now reactivated.
- Log in with your username and your new password. You are taken to the dashboard and can continue working with CAVATICA.
When the reactivation email is sent, you have 6 hours to activate the account.
Updated 2 months ago
